< More Mini Books
DLTK's Educational Ideas - Print and Assemble Books |
Start making your mini book in: |
| Note about printing custom mini-books. |
|
This is almost identical to the original custom mini-book, but has a
"God Made Me" theme to it. Thanks to one of our viewers,
JoAnna, for suggesting this version of the book! It allows you to
fill in name, age and quite a few other things to give the book a
personal touch.
There are three 'boy images' (light, medium and dark skin tones) and different images for where people might live (house, apartment or farm). Hopefully I've provided enough variety to make the books work for everyone! |
|
| The words in the book aren't as simple or repetitive as some of the other mini books on the site, but it's fun for preschool/kindergarten children to try to pick out the words they know (like their name!) and for Grade 1 and 2 children to read on their own. |
||

Materials:
- printer,
- paper (you can use a slightly heavier paper for a longer lasting book)
- stapler
- something to color with (if using B&W template)
- OPTIONAL: Glue stick
Directions:
- Click the "Start making your mini book" button at the top or the bottom of this page.
- Fill in all the blanks and then click the "Build your mini book!" button.
- Print all the pages to make your book.
- Color the template pieces if you are doing the B&W version.
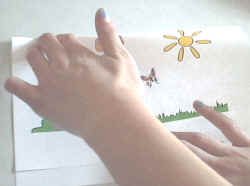
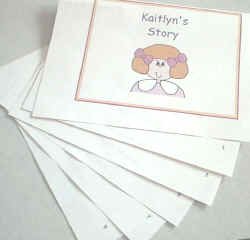
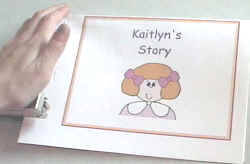
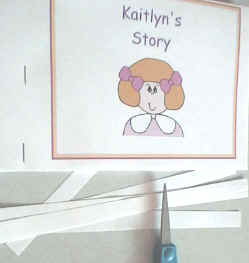
ASSEMBLE YOUR BOOK:
PRINTING the templates
|
Photos are for the
original custom Girl book, but the process is the same
|
Start making your mini book in: |
| Note about printing custom mini-books. |